There is a fair bit of chatter around the parks and Internet forums about setting up camp in some National Parks that require the van/motorhome/camp trailer to be classified as a ‘Self Contained Vehicle’. This means that no grey water from your van whatsoever, including shower or sink can be run out onto the grass or into the bush.
Our Coromal Family caravan didn’t come with a grey water tank. In fact, I don’t think many caravans do. We are about to set off on our 2 year trip around Australia in a mere 6 weeks. With this in mind I decided that now is a much better time to install a grey water tank while I have all my tools at arms reach instead of a week before we set off to one of these National Parks and having to do 20 trips to Bunnings to get all the odds and ends.
The install can easily be done in a day provided you already have the parts required. All up the exercise cost me approximately $200, including the tank itself.
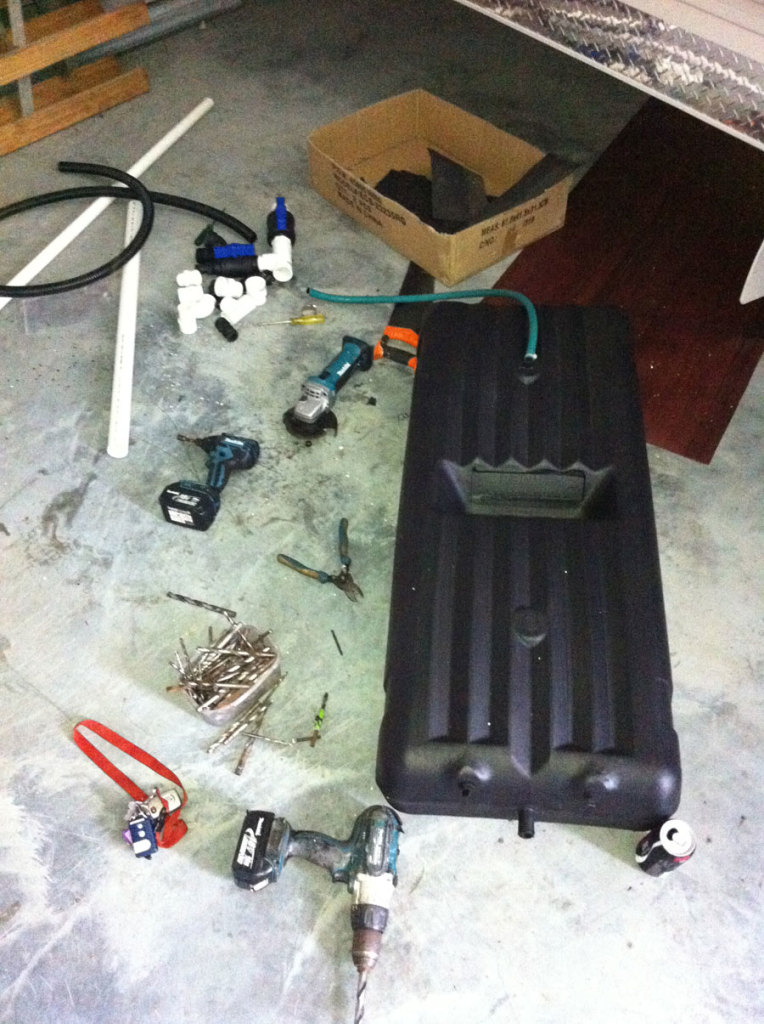
Parts list required to fit the grey water tank
- 82lt Camec water tank baffled to stop slushing around $99 @ local caravan spares shop
- 3 x ball valves: I use the more expensive quality brand from irrigation shop as they do not go brittle and are very easy to open/close.
- 4m of 25mm PVC pipe: 2m for the new tank drain and 2m for original pipe modifications
- Assorted PVC pipe fittings to tap into existing grey water pipe outlet and tank fittings
- 1m of 25mm hose
- Galvanised strapping for mounting the tank
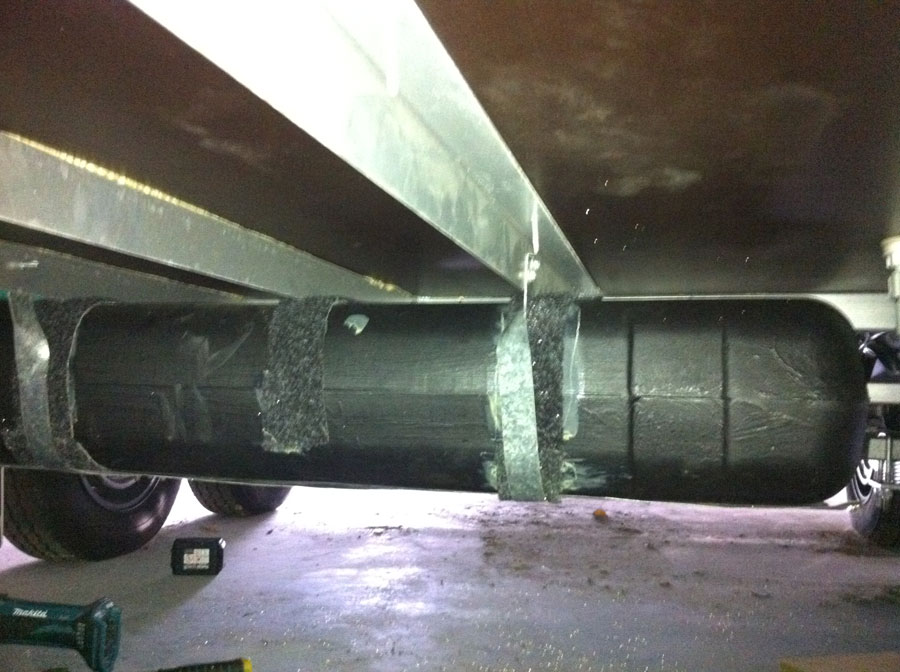
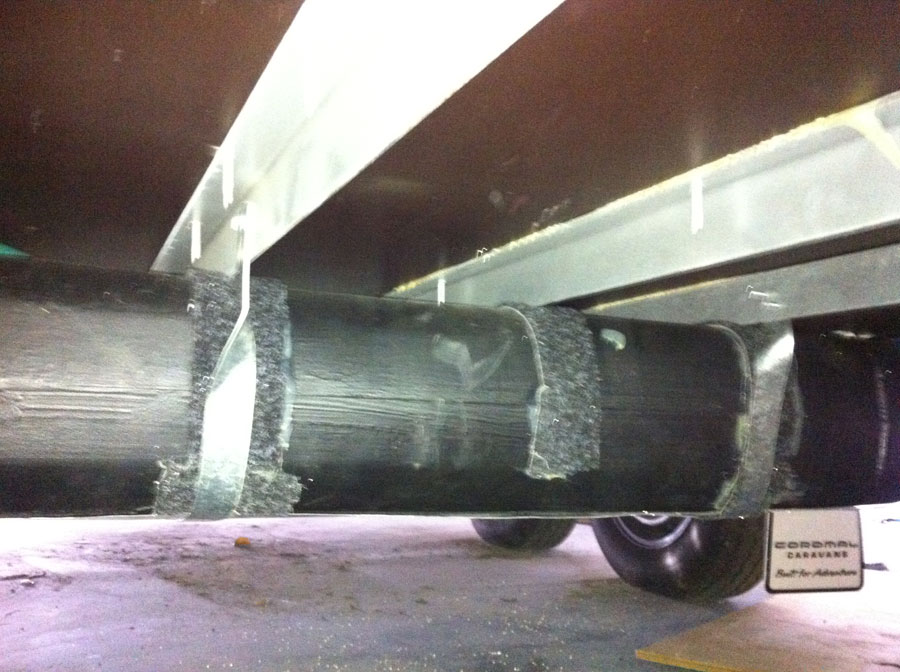
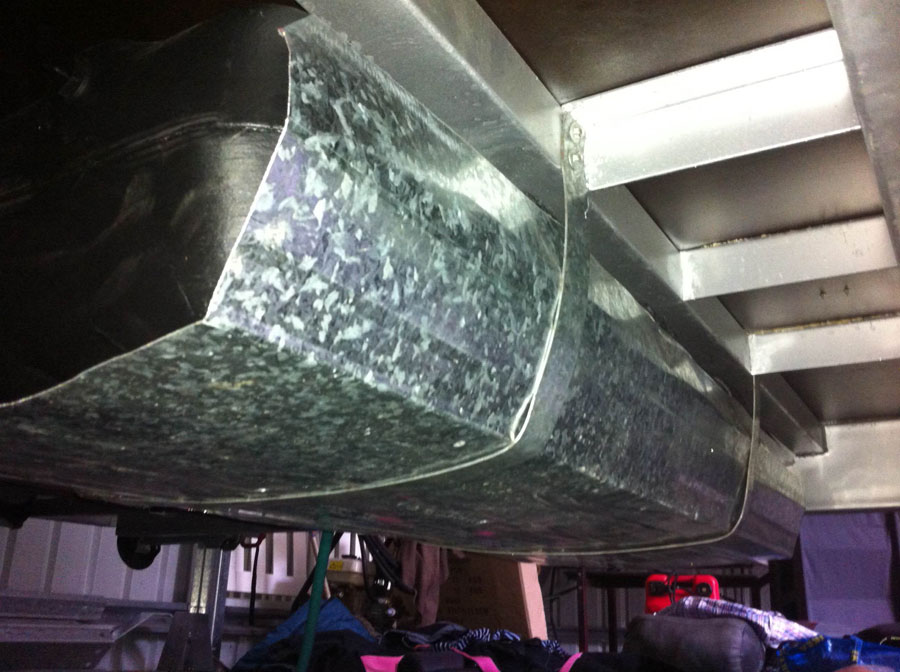
- 1200mm x 700mm galvanised 0.5mm sheet metal: I wrapped it around tank to prevent stone/road damage
- Plumbers glue, cable ties, self drilling screws
I was lucky enough to have the strapping laying around at home and visited the local caravan repairer whom had an off cut of sheet metal that was perfect for the stone guard. Otherwise Bunnings sells 1200mm x 600mm sheets for $40.
I won’t go into too much detail as everyone’s van will have different plumbing but basically I wanted a system that I could shut off the normal grey water discharge and divert it into the new tank via 2 ball valves (open 1 and close the other).The 3rd valve is for draining the tank or back washing it. I fitted the waste water tank at the back of the van, behind the rear axel. Our 2 drinkable water tanks are fitted at the front of the axels.
It was a fiddly job laying on my back under the van on hard concrete but all went smoothly, except buying some of the wrong size pipe fittings. I blame the person who had mixed up the fittings in the container. I also forgot to buy a few bends. Another return journey to Bunnings had my wife suspecting I had a girlfriend. 3 trips to Bunnings…… in 1 day????? Maybe I just like those tasty sausages too much.
Good luck in fitting your grey water tank. I would love to get your feedback on my install or to help answering questions if I can.
back to This Is Our Australia homepage
 Taking your caravan on the Spirit of Tasmania
 Starboard SUP Astro Inflatable Paddleboards
 6 tips to get better photos when exploring Australia
 Best social media groups for caravanning and camping lovers
Great install Warrick. You have done a great job. I have to admit that I hadn’t thought about the laws in relation to grey water.
Thank you for your site,Jason(above) pointed me to it.The directions for fitting water tank and solar panels are very clear and will be very helpful.
You are very welcome Bev! That’s why we are writing this blog, to help others along the way with our learnings! 🙂
when you cut holes for pipes how did tou seel them and how did you stop them from falling out Thanks Ken
Hi Ken, sorry for the delayed response! Warrick says the holes and thread are moulded into the tank and it’s a matter of getting the correct threadded fitting. Does that help?
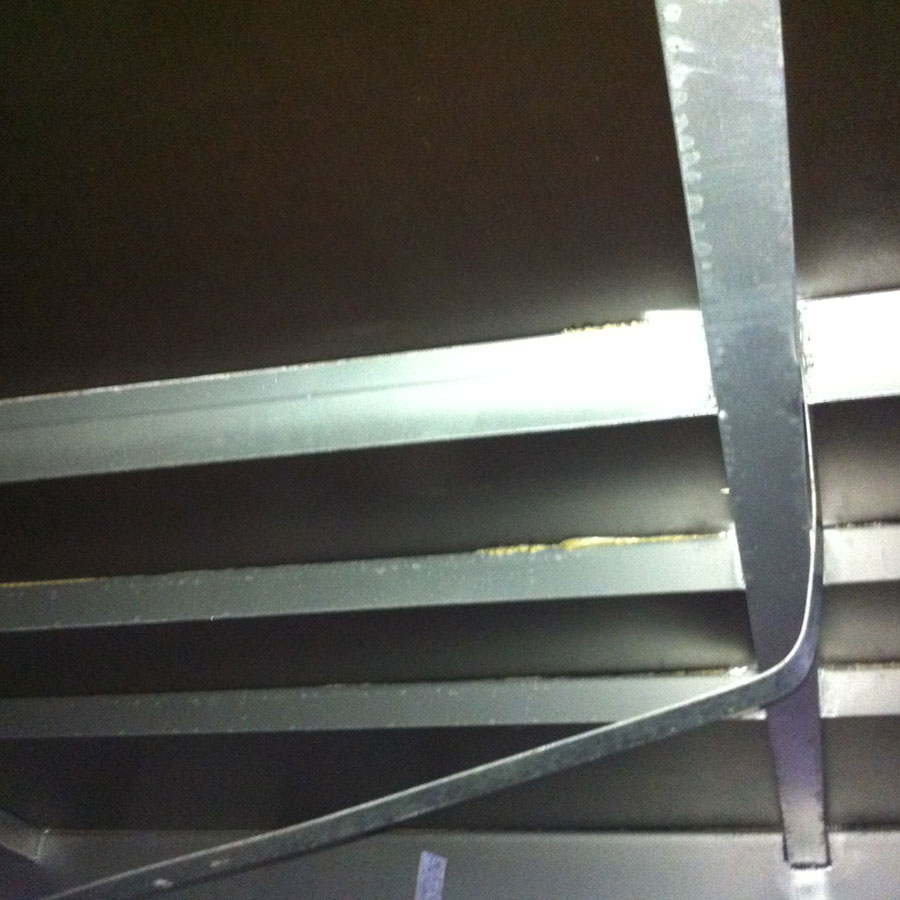
well done Warwick, good idea to get set up. Pity it could not fit between the floor rails
Have been watching your travels and in late july- August we were near your a few towns apart. Live at Newcastle area now you in the area.
Enjoy your travels with Fab and he girls. Look fwd to your posts.
Rgds
Mike
Thanks for the comment Mike! Sorry for the delayed response! You live in a beautiful area 🙂